Monday, May 24, 2010

Unique Wall Art

Hello my Crafty Crafters!

This craft is so easy that I don't have too many pictures to share with you. This is also because the ultimate design is up to you!


I happen to be a pattern freak and I LOOOOVE to mix and match as many patterns as possible. You will see this with my fabric and paper choices.


Needed Supplies:

1. Canvas board or Card board

2. 1-2 yards of fabric or Fabric squares which can be found @ Michaels and JoAnn Fabrics. You need enough fabric to cover all canvas boards or card board pieces. 1 fabric square for each 12 X 16 canvas board should be enough.

3. Tape

4. Glue

5. Scissors

6. Picture hanging wire

7. Different colored paper and or patterned paper


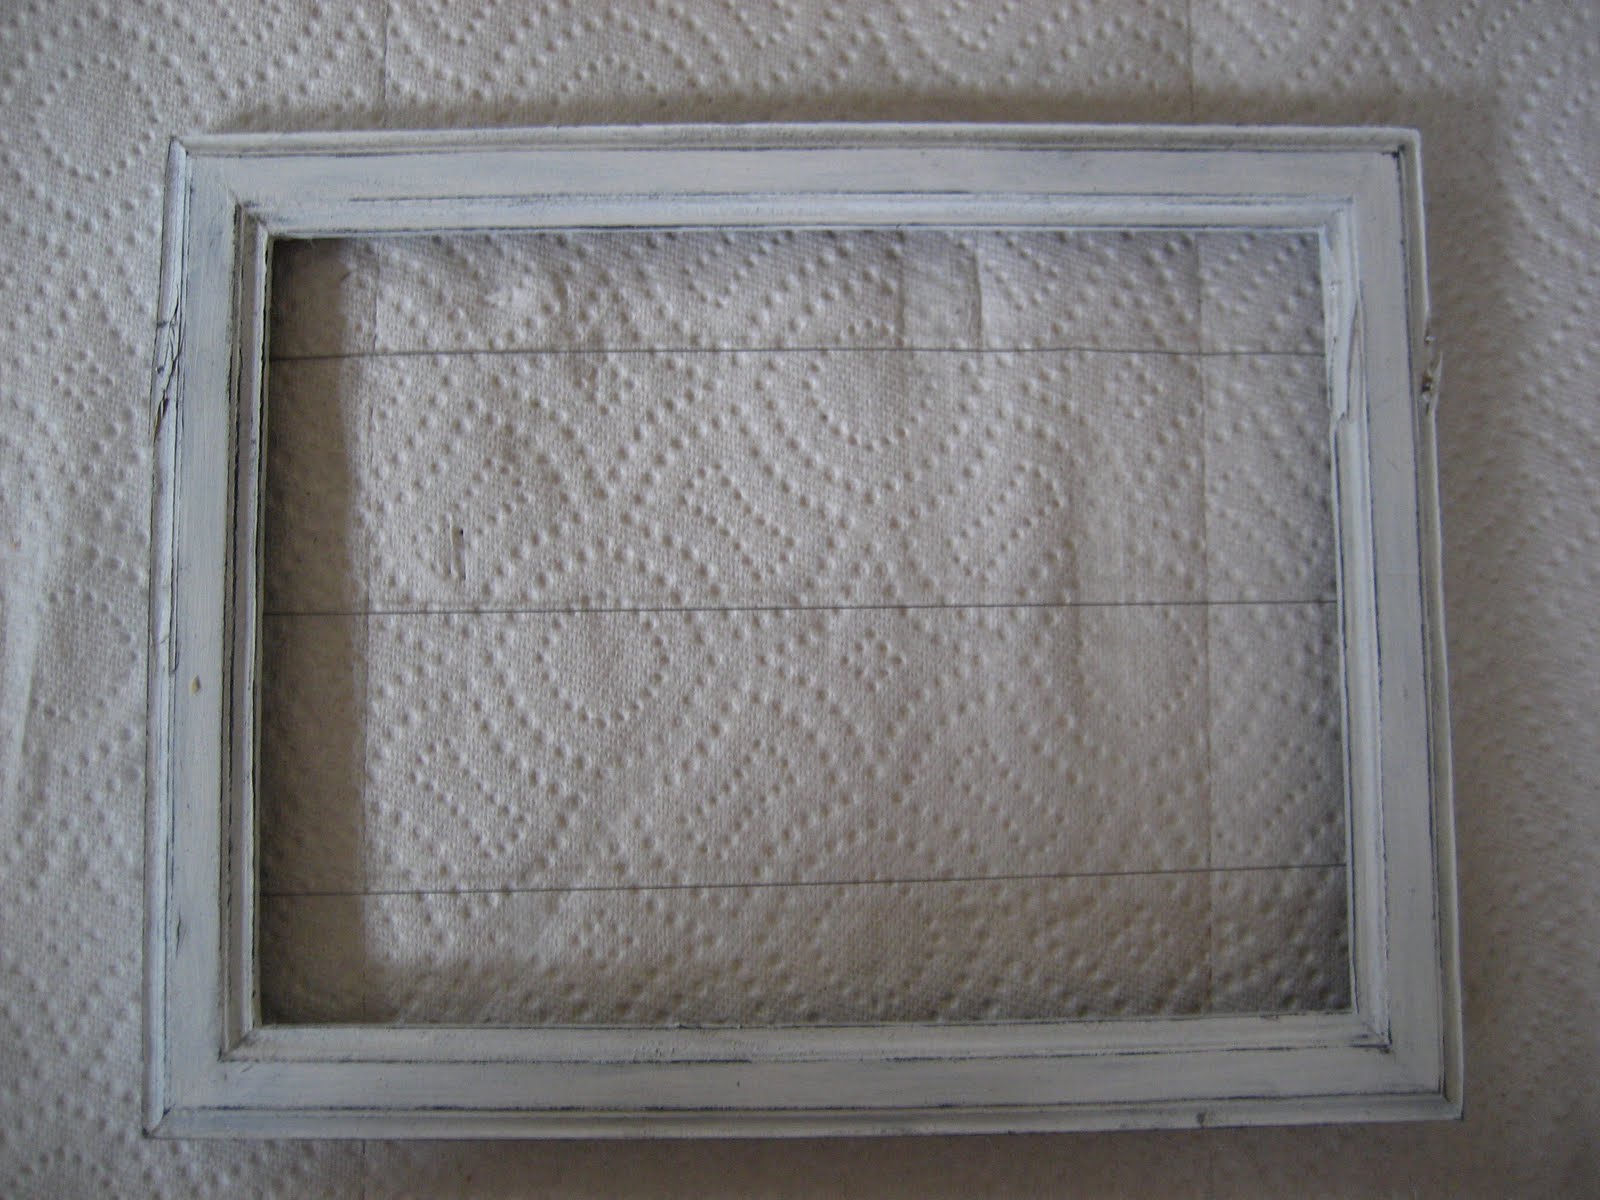
Step 1. Tape fabric to back of canvas board or card board, making sure to pull fabric tight, not leavings any wrinkles on front.


Step 2. Make shapes out of chosen paper and glue them to the fabric. some of my own Design ideas are below. Note: Making 3D design that come off of board will add more visual interest to your unique wall art.


Flowers


Bumble Bees


Dragon Flies


Shown on wall together


Turtles


Step 3. After designs are glued to fabric and glue is dry apply wire to back of board with tape.
Step 4. Hang on wall and enjoy your Unique Wall Art!
Happy crafting!
Please post and share pictures of your finished designs and experiences with any of the crafts from this blog, in the comments section!
To view a complete portfolio of my arts and crafts visit my website @ http://www.sheaschiel.com/

Antique Picture Frame Jewelry Holder

Hello my Crafty Crafters!
This is a neat idea that enables you to do something different with your jewelry while displaying it in a unique way. This craft is also inexpensive as the frames were from the dollar store. To make a bigger statement, buy larger more ornate frames and apply the same techniques listed below. I have these up in our master bath and have received a lot of nice comments about them. I also think these would look great in guest baths by hanging non personal jewelry on them such as, costume or antique jewelry.

Note: I used two picture frames in this craft. One picture frame I use hooks and the other frame I use picture hanging wire for two different hanging styles. The hooks are great for hanging necklaces, bracelets and rings while the wire is great for earrings.

Also in this craft I use two contrasting paint colors, black and white, to achieve the antique look but I believe that any contrasting colors will achieve the same effect. You can use two colors that match the room the frames will be hung in, just make sure they are contrast colors which means one dark and one light color or colors opposite on the color wheel. (See Below)


Needed Supplies:
1. Picture frames (the number of frames is up to you)
2. Screw in small hooks
3. Picture hanging wire
4. Hammer
5. Staple gun
6. Black acrylic paint
7. White acrylic paint
8. Paint pallet or Solo cups
9. Paint brush
10. Solo cup (for water to rinse brushes)
11. Sandpaper
12. Paper towels or newspaper (to protect work surface)
13. Needle nose pliers or wire cutters


Step 1. Remove metal brackets from back


Step 2. This step can be done now or after both paint colors have been painted and fully dried.


Step 3. Cover entire frame surface with the black acrylic paint.


Step 4. After the black paint is fully dry cover entire surface with the white acrylic paint. This may require more than one coat.


Step 5. After the white paint is fully dry gently use sandpaper to rub off white paint along corners and edges, bringing out the black paint. This is an easy antiquing technique.


Step 6. Cut a peice of wire that will stretch across the frame then staple each end of wire to the frame. (Try to staple in the middle of the frame since the edges tend to be thinner). Iused 3 peices of wire on my frame but you should space the wires according to the size of your frame.


This is what the finished product looks like. Enjoy and Happy crafting!


Please post and share pictures of your finished designs and experiences with any of the crafts from this blog, in the comments section!

To view a complete portfolio of my arts and crafts visit my website @ http://www.sheaschiel.com/

Monday, May 10, 2010

Fruit Candle Holders

Hello my Crafty Crafters!

This is a simple project that will take no time at all. These fruit candle holders will go great with our Fruit Place Card Holders from a previous post. Together they will add a fun feel with great ambiance for any party in any season.

Needed Items:

1. Fruit (real or styrafoam)
2. Tea Lights ( **for fake fruit use fake tea lights**)
3. Pencil
4. Spoon
5. Knife

Step 1. Place tea light on top of fruit and trace around the tea light with the pencil.


Step 2. Trace along the penciled line with a spoon pushing hard enough to leave an indention that can easily be followed with the knife. ( I did this to make using the knifew in the next step a little easier.)


Step 3. Cut out the circle using a knife.


Step 4. Chisel out the inside of the fruit with the spoon.


Step 5. Place tea light inside fruit and light or turn on for some great looking lighting!

Just 5 easy steps and this craft is done, Happy crafting!
Please post and share pictures of your finished designs and experiences with any of the crafts from this blog, in the comments section!
To view a complete portfolio of my arts and crafts visit my website @ www.sheaschiel.com

Friday, May 7, 2010

Fruit Place Card Holders

Hello my Crafty Crafters!
This is a simple craft that won't take up a lot of your time or money! By choosing seasonal fruit these place card holders will be perfect in any season for any occasion. You can use real fruit or styofoam fruit that can be found at your local dollar store. For this craft I chose to use styrofoam lemons and limes which I think work for Spring and Summer. Real fruit would leave a great aroma in the air for your dinner party though.

Items Needed:

1. 1 Fruit per place setting
2. Scissors
3. Glue (Tape)
4. Knife
5. Patterned paper & white computer paper or card stock
6. Kabob wooden sticks or paper clips
7. Ruler
8. Pen

Instructions:


Step 1: Start by cutting off a small peice on the bottom of the fruit leaving a flat part for the fruit to sit on. This should ensure that the fruit does not roll away.


Step 2: Choose patterned paper that goes well with your fruit.


Step 3. Use a ruler and pen to mark strips on the patterned paper. I did this easily by just making my strips as wide as the ruler.


Step 4. Cut out the strips then cut each strip in half.


Step 5. Cut out smaller peices of white paper or card stock and glue centered on patterned paper peices.


Step 6. Practice different scripts for the place cards on scrap paper.


Step 7. Write out guest names on place cards in chosen script. ( If you are not confident in your own handwriting, the names can be printed on the computer in many differnt scripts).


Step 8. Attatch place card onto shortened kabob stick by using tape or a smaller piece of paper glued to the back of the place card and tighly over the wooden stick.


Step 8A: In place of the wooden kabob sticks you can use a paper clip. By making a small incision on top of the fruit, the paper clip can easily be pushed into the fruit and capable of holding your place cards.


Here are some pictures of how GREAT your Fruit Place Card Holders will look on a set table. Fresh flowers and candles will add to the abiance of your dinner party. ( For Fruit Candle Holders check out my next blog!)


Happy Crafting!

Please post and share pictures of your finished designs and experiences with any of the crafts from this blog, in the comments section!

To view a complete portfolio of my arts and crafts visit my website @ www.sheaschiel.com

Thursday, May 6, 2010

Wreaths made with Dollar Store items

Hello My Crafty Crafters,
This post describes how easy it is to make a wreath made solely from items bought at your local Dollar Store. Total cost of supplies = $10! Pretty good for an easy GREAT looking wreath!
Lets get started.
Here are the supplies that are needed for this craft.
1. 1 Willow Wreath
2. 5-6 bunches of silk flowers ( 5-6 flowers per bunch minimum)
3. Glue ( I prefer Elmers Glue All for multiple surfaces)
4. Spanish Moss
5. Wire
6. Scissors
7. Additional decoration (ex. pin wheels and birds)


Instructions:


1. Start this project by putting glue on a small area of the wreath.


2. Aply a small amount of spanish moss to the area covered in glue. The objective here is to lighly cover the whole wreath (minus the back) with the moss to help hide the willow wreath and make it feel more natural.


3. Cut flowers from bushes, with scissors of wire cutters, leaving 1-2 inches of stem for easy placement in wreath.


4. This is the easy part. The stems of the flowers should easily stick into the wreath, between the layers, without falling out. What I like to do is start with my biggest flower, placing them intermitantly on the wreath and working my way down to the smallest flower. This should help ensure that your wreath looks balanced.


5. After wreath is covered with flowers and once you're satisfied with the wreath you can an additional decoration to the wreath for some intrest and whimsy. In this wreath I added pin wheels.


6. Cut a peice of wire about 6 inches long. Decide where the top and bottom of the wreath is. Flip over the wreath and attatch the wire to the top of the wreath in the back.


7. Once the wire is attatched , your beautiful wreath is ready to hang!


Here are some pictures of additional wreaths I have made for Spring and Fall. The wreath above is my summer wreath that I made out of different colored sunflowers.


Happy crafting!
Please post and share pictures of your finished designs and experiences with any of the crafts from this blog, in the comments section!
To view a complete portfolio of my arts and crafts visit my website @ www.sheaschiel.com